În această lecție vă voi arăta cum puteți crea efecte magice neobișnuite asupra fotografiilor utilizând perii, diferite moduri de amestecare și multe altele. Deci, hai să începem!
Pasul 1. Mai întâi, creați un nou document Fișier-Nou, cu dimensiunile de 1920 × 1200px / 72ppi. Apoi, scoateți instrumentul Bucket Paint (G) și umpleți noul fundal cu culoarea pe care o vedeți în imaginea de mai jos.

Pasul 2. Luați instrumentul perie (instrumentul perie) (B), setați opacitatea la 20%. Pentru alte setări de perie, consultați imaginea de mai jos.
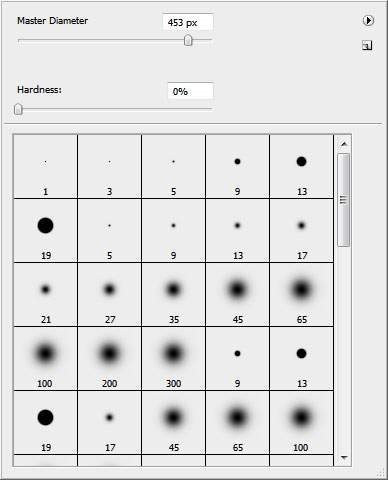
Pasul 3. Acum, pe noul strat cu peria faceti cateva lovituri (numarul culorilor vedeti imaginea).
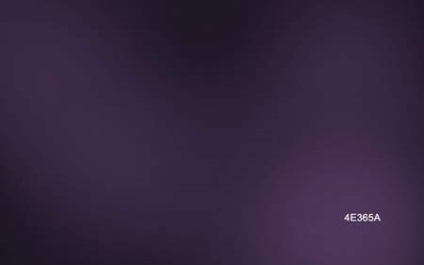
... și alte câteva culori pe un alt strat nou ...
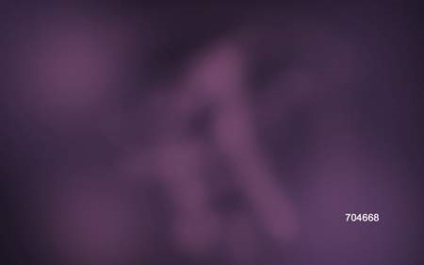
... și schimbați modul de amestecare în modul Blur (ColorDodge):
Iată cum ar trebui să obțineți:

Pasul 4. Acum faceți o fotografie a fetei modelului și plasați-o pe document. Puteți folosi oricare alta.
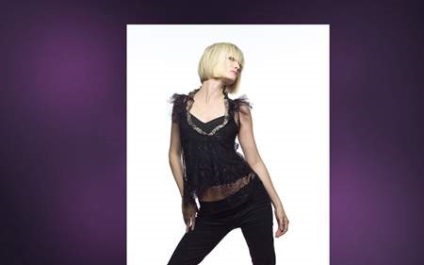
Pasul 5. Acum trebuie să separăm figura fetei de fundalul pe care se află. Puteți face acest lucru în orice mod convenabil pentru dvs. Se poate folosi Pen Tool (PenTool (P)), instrument Magic Wand (MagicWandTool (W)), Instrumentul Lasou Magnetic (MagneticLasso (L)), sau același simplu Extract Filter (Filtru-Extract (Alt + Ctrl + X)) .
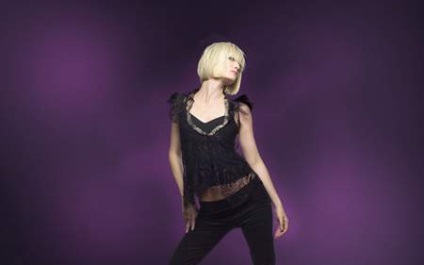
Pasul 6. Creați un nou strat. Pe aceasta, utilizați instrumentul perie cu culoarea # BA93B3 pentru a obține o cantitate mică de puncte de diferite dimensiuni ...

... și apoi niște albi mai pur:

Pasul 7. Acum, cu instrumentul Ellipse (U), trageți un cerc astfel:
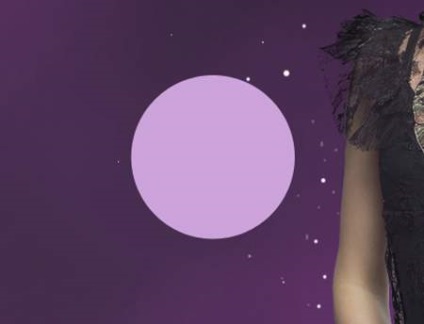
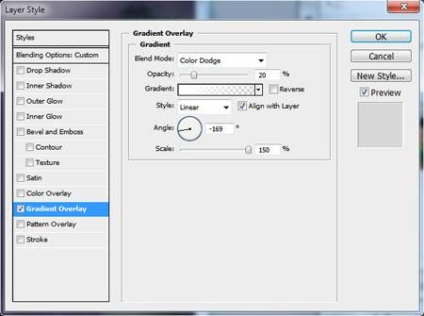
Umpleți acest strat cu 0%.
Apoi adăugați stilul de strat al stratului de gradient cu setările, după cum se arată în figura de mai jos.
Și în final avem un astfel de cerc translucid:

Pasul 8. Acum copiați acest nivel (Ctrl + J) de mai multe ori și utilizați Instrumentul de mutare (V) pentru a plasa cercurile în ordine aleatorie în jurul fetei.


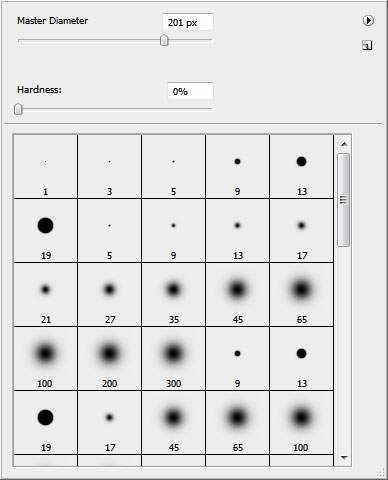
Pasul 9. Creați din nou un strat nou. Trebuie să creăm un fel de strălucire în jurul fetei. Setările periei pentru această acțiune sunt prezentate mai jos.

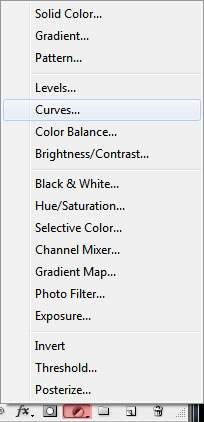
Pasul 10. Acum adăugați un nou strat de ajustare - Curves (Createnewfilloradjustmentlayer-Curves). Setări - în imaginea de mai jos.
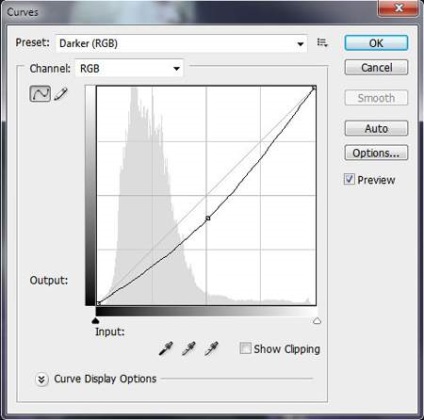
Acum, munca ta arată mai mult contrast și mai intensă.

Pasul 11. Cu instrumentul Ellipse (U) pe noul strat, faceți un alt cerc.

Vom adăuga, de asemenea, mai multe stiluri la acest strat. Pentru a începe, Inner Shadow cu setările afișate mai jos.
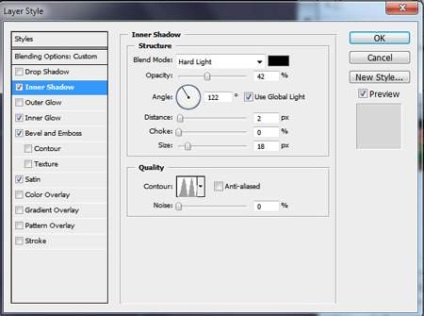
Apoi este Glow Inner, așa cum se arată în figură.
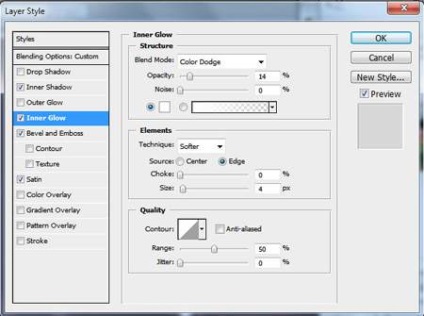
Apoi, embossing (BevelandEmboss) cu aceste setări:
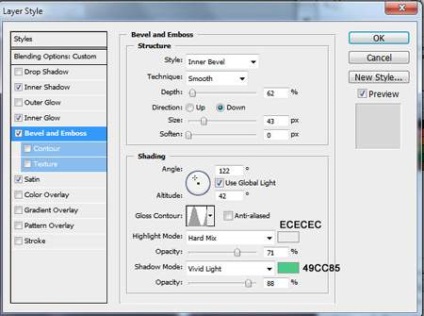
Și în concluzie, Gloss (Satin) cu aceste setări:
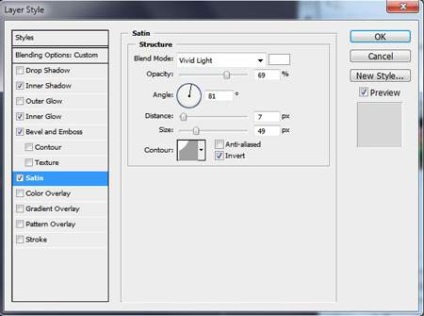
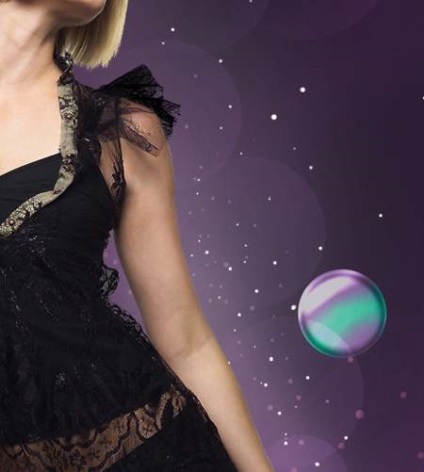
Și după toate acțiunile pe care le-am făcut, avem un balon atât de frumos.
Pasul 12. Copiați stratul de bule și, folosind Free Transform (Ctrl + T), încercați să-l deformați. Utilizați următoarele setări Warp.
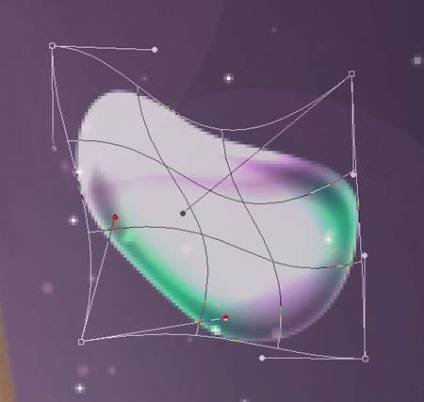
Faceți acest lucru de mai multe ori. Iată ce ar trebui să obțineți:

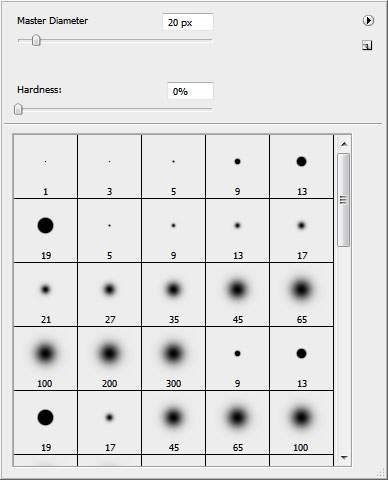
Pasul 13. În noul strat, trebuie să facem mai multe linii utilizând instrumentul Perie cu setările prezentate în figură.
Iată cum ar trebui să arate:
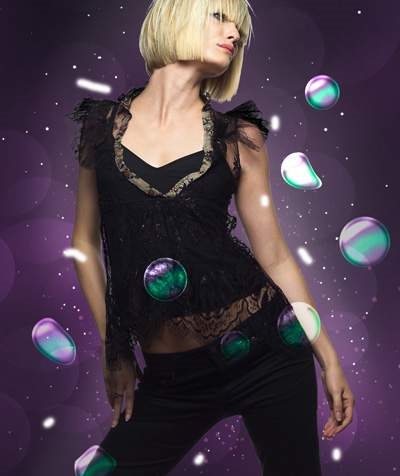
Acum le împrăștiați puțin cu ajutorul instrumentului Finger Tool (SmudgeTool (R)) cu o rezistență de aproximativ 50%.

Pasul 14. Schimbați modul de amestecare al acestui strat cu Overlay.
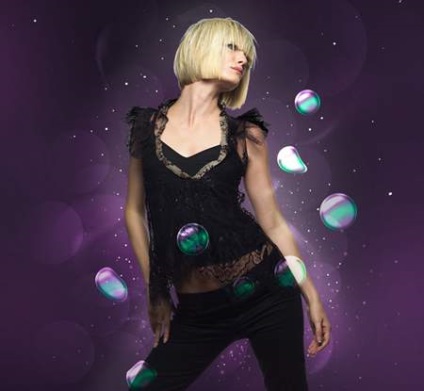
Apoi creați un duplicat al acestui strat.

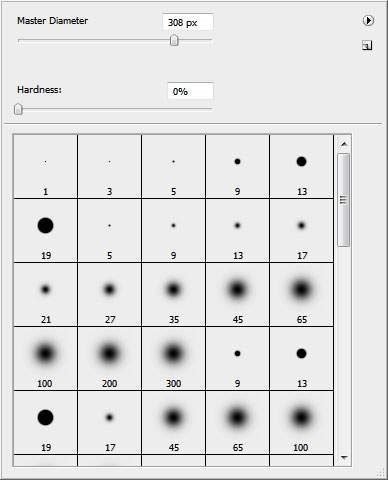
Pasul 15. Pe noul strat, trebuie să aplicăm instrumentul Brush (alb), cu un nivel de transparență de 10%. Alte setări sunt mai jos.
Ar trebui să obțineți ceva ca o ceață.

Schimbați modul de amestecare a stratului cu Overlay.
Așa va arăta.

Pasul 16. În noul strat cu o perie, adăugați câteva puncte mai multe (culoarea # EC008C) aproximativ așa cum se arată în imagine.

Și după aceea, pe noul strat, sunt încă câteva alburi.

Pasul 17. Dubleaza layer cu puncte albe si aplica Blur filtru, Motion Blur (Filter> Blur> MotionBlur).
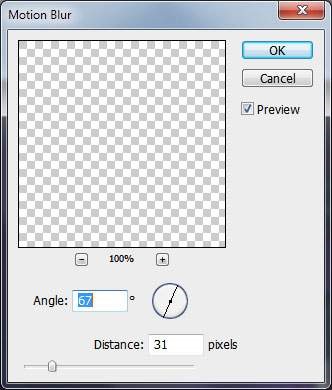
Punctele noastre au devenit mai dinamice.

Asta e tot! În opinia mea, sa dovedit destul de magic. Nu vă fie frică să experimentați!
Mult noroc pentru tine!